
Last updated November 16, 2026
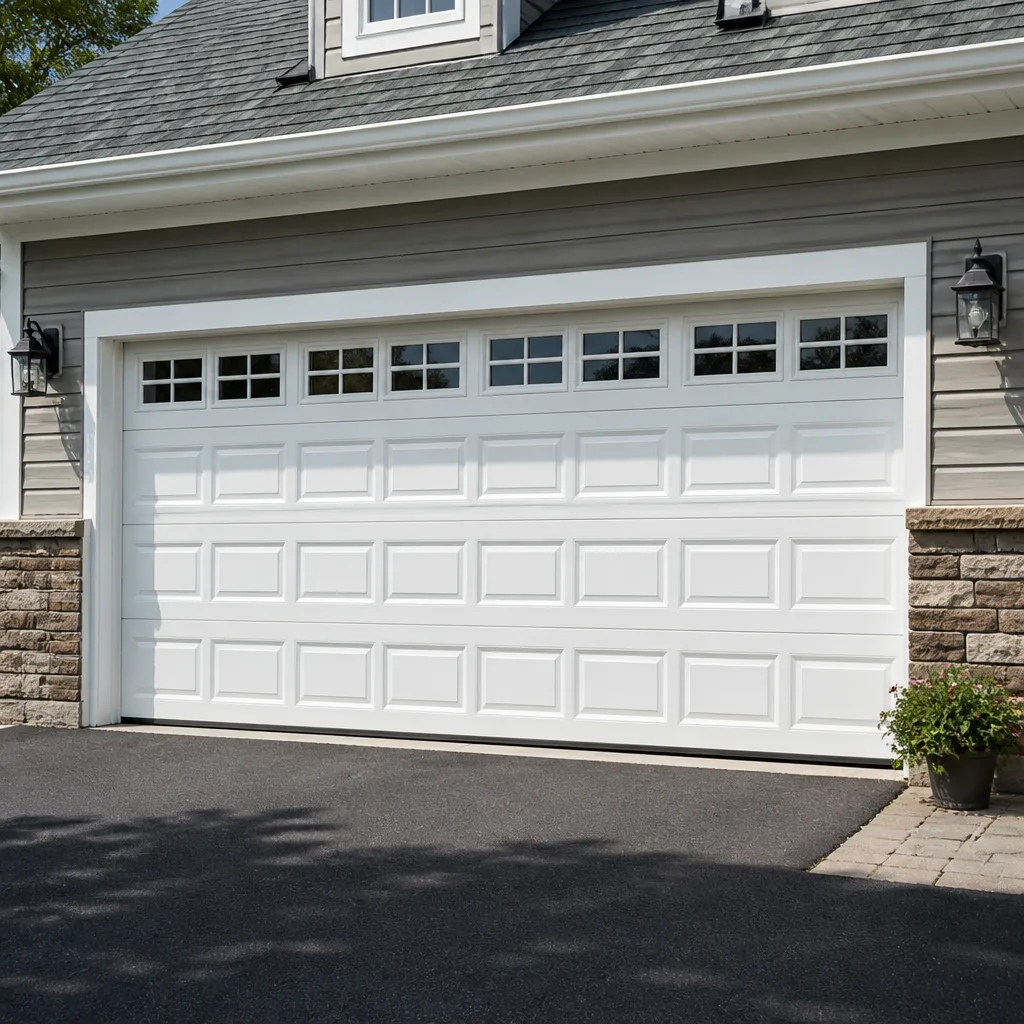 Raised-panel steel
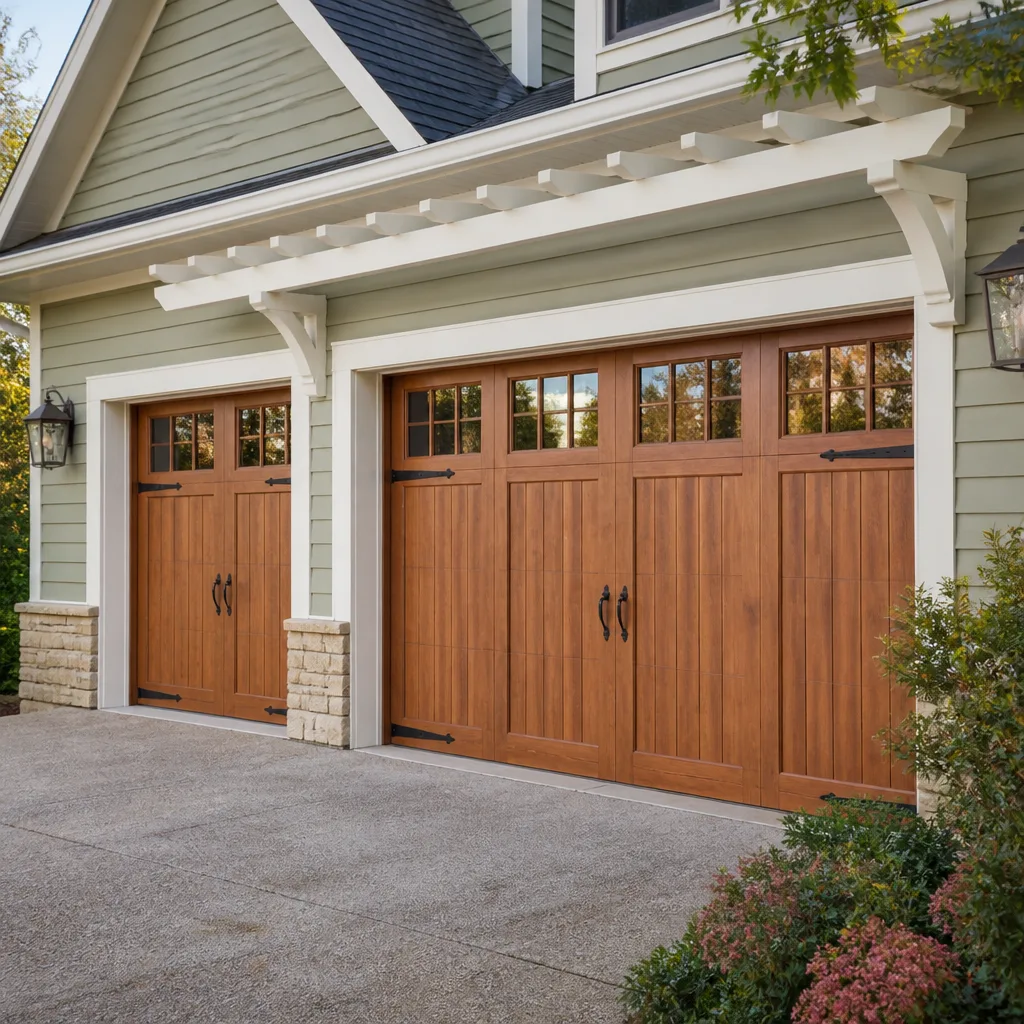 Carriage house
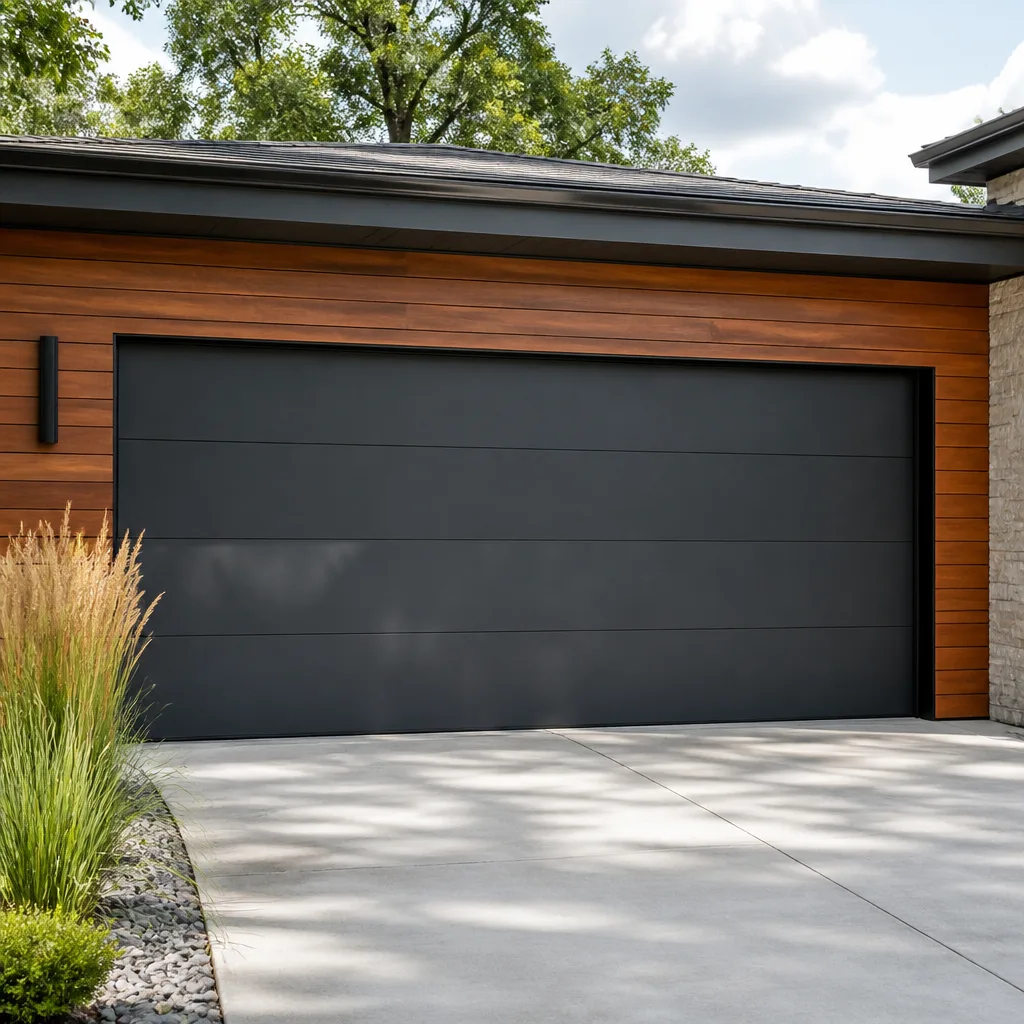 Modern flush
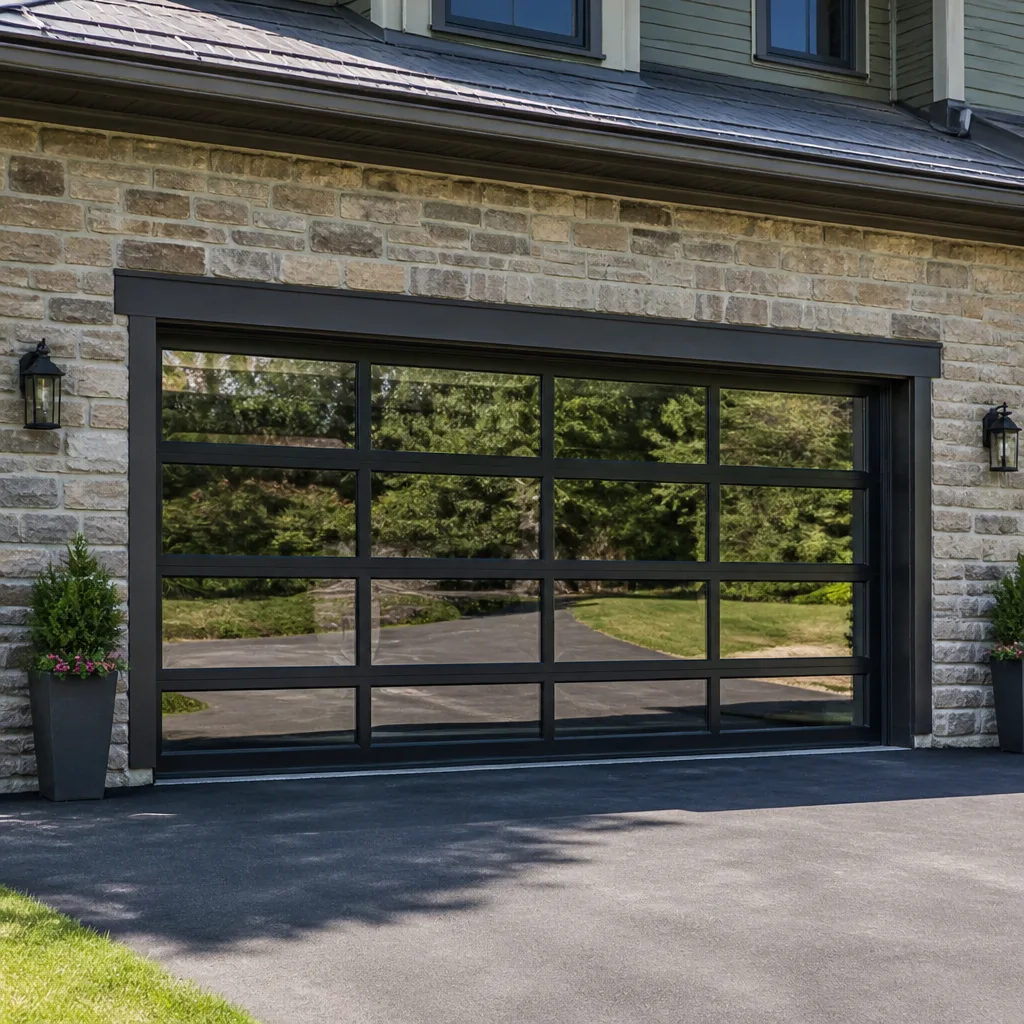 Full-view glass
 LiftMaster openers
 Chamberlain openers
Full 25-point door and opener safety check with every visit - springs, cables, rollers, tracks, and your LiftMaster or Chamberlain opener included
You get a price before we start. It does not change when the pro arrives.
Get your free estimateGarage Door Repair Maintenance Checklist for Antioch Homeowners
The biggest maintenance mistake we see in Antioch garages isn’t skipped lubrication. It’s lubricating the wrong parts with the wrong product and speeding up the wear the homeowner was trying to prevent. Spray a wet lubricant onto a spring or a track and you’ve just built an adhesive surface for the dust that blows through this part of Contra Costa County. Every season it collects a little more, and every year the roller drags a little harder against a surface that should be slick. What follows is the checklist our technicians actually run, ordered by what fails first on Antioch homes rather than alphabetically. You’ll learn which products belong on which parts, how to read the balance and tension tests safely, and where a homeowner should stop and call.
Quick Answer
A garage door maintenance checklist for Antioch homeowners should cover lubrication with the right product, balance testing by hand, roller and hinge inspection, bottom seal checks for debris and pest intrusion, and an annual spring and cable assessment. Springs, cables, and opener adjustments belong to a technician. Most of the rest a careful homeowner can handle with a basic lubricant and a flashlight. Our technicians have up to 11 years of experience, and the failures we see most in Antioch come from dry springs, worn nylon rollers, and bottom seals torn by debris, not from anything exotic.
Styles & brands we work with
- Raised-panel steel
- Carriage house
- Modern flush
- Full-view glass
- LiftMaster openers
- Chamberlain openers
Table of Contents
- Why Antioch Garages Fail Differently
- Lubrication: The Right Product on the Right Part
- The Technician’s Visual Inspection Sequence
- Balance and Spring Tension Without Tools
- The Bottom Seal and the Delta-Adjacent Climate
- Rollers, Hinges, and the Hardware That Wears
- Opener and Safety Reverse Checks
- Printable Frequency Table
Why Antioch Garages Fail Differently
Antioch sits in a stretch of the East Bay where the wind picks up fine dust in the dry months and rain arrives in concentrated bursts in the wet ones. That combination does specific things to a garage door. Dust settles into lubricant that stays tacky and forms a grinding paste inside roller bearings and on hinge pins. Rain driven under a door with a worn bottom seal wicks up onto the bottom weatherstripping and the lower panel, and the moisture sits there with nowhere to go. Mild winters mean the door moves every week of the year, so the mechanical wear per calendar year is higher than in a colder climate where a door might sit quiet for stretches.
Housing age plays a part too. Much of Antioch’s housing stock spans several decades of construction, which means a wide mix of door systems are still in service. A Wayne Dalton door from one era and a Craftsman opener from another are both common here, and a good technician knows the quirks of each without a phone call to the manufacturer. That matters for maintenance because the failure pattern differs by system. Older steel doors tend to rust at the panel seams and give noise at the rollers first. Later chain-drive openers show rail vibration long before the motor fails.
The practical takeaway is that a generic nine-point list borrowed from a manufacturer PDF won’t map onto your garage. In our experience working on Antioch properties, the sequence below covers what actually goes wrong, in the order it goes wrong. We work on doors and openers across eight major brands, including Raynor and LiftMaster, so we’ve watched these patterns repeat across a lot of homes.
Lubrication: The Right Product on the Right Part
This is where good intentions backfire. WD-40 in its classic blue-and-yellow can is a solvent and a light penetrating oil. On a garage door, it dissolves the heavier grease already protecting the spring coils and leaves a thin film that collects dust within days. The spring then works against a dry, contaminated surface, coil rubbing against coil, and coil bind is a real precursor to spring failure. Spray it on a track and you’ve created a surface that grabs grit, which turns a smooth roller path into a grinding rail. The track and the springs are the two places it does the most damage.
What to use where
- Springs: a dedicated garage door spring lubricant or a lithium-based spray designed for torsion springs. It stays put and doesn’t attract grit the way a wet spray does.
- Torsion tube and bearings: a few drops of a heavy machine oil, applied sparingly.
- Hinges and pivot points: a lithium grease or a silicone spray at each pivot. Both work; the point is a film that stays where you put it.
- Nylon rollers: nothing. Nylon is self-lubricating and a spray can actually degrade it.
- Metal rollers: a light oil or silicone spray on the bearing, never the tire surface.
- Tracks: nothing at all. Clean them with a damp cloth and a dry edge. Any lubricant on a track turns into a grit trap.
- Bottom weatherstripping: a thin coat of silicone spray on the seal-to-floor contact surface stops it sticking and slowing the close cycle.
Frequency: lubrication every six months for the moving parts above, and once a year for the springs. In the dusty stretches of the Antioch year, bring the spring lube forward to every six months too. If the door has been squealing and you can’t pin down which hinge, listen with the door moving and your hand near but not on the pivot. That squeal locates itself.
The Technician’s Visual Inspection Sequence
Order matters here. A technician moves from the part that fails most often to the part that fails least often, and you should follow the same sequence. Start with the springs, then the cables, then the rollers, then the hinges, then the panel edges, then the tracks, and finish with the bottom seal. This is a visual walk-through with your eyes and a flashlight, done with the door closed and again with the door in a raised position. It is not a repair sequence.
- Springs. Look for gaps or separation in the coils, rust bloom on the coils, or a spring that has visibly stretched. A spring of this type is under high tension, so inspection is eyes-only here. Do not reach in.
- Cables. Run your eyes along each cable where it passes over a drum. Any fraying, kinks, or a strand sticking up is a call. Cables are under severe tension and only a technician should touch them.
- Rollers. Look for flat spots, wear at the stem, or a roller that has pulled loose from the hinge. Nylon rollers that are worn, chipped, or riding off-center need replacing.
- Hinges. Check each hinge for a bent leaf, a loose bolt that won’t tighten down, or cracking around the mounting point.
- Panel edges. Run your hand along the bottom panel edge and the panel seams. Rust streaks, dents from the opener arm, or paint flaking at a seam are the early signals.
- Tracks. With the door closed, check that the vertical track is plumb. With the door open, check that the horizontal track is level and the curve at the top is smooth, not dented.
- Bottom seal. Look for tears, flattening, or separation from the door panel, and check that it’s still making contact along the whole width.
This sequence catches about 90% of what a technician would flag. The ones that need hands-on work (spring and cable) are marked clearly for a professional. If the visual walkthrough turns up a spring or cable issue on your Antioch door, we can take it from there. That’s the part of the work that garage door repair should cover, with no wrench in your hand.
Balance and Spring Tension Without Tools
The balance test is the single most useful check a homeowner can do, and it takes no tools. Disconnect the door from the opener first, using the manual release cord, so you’re lifting just the door. Raise the door about halfway and let go. A properly balanced door should hold roughly where you left it. If it drops, the springs are weak. If it rises on its own, the springs are adjusted too strong. Both results matter. A weak spring means the opener is carrying weight it was never designed to carry, and an overpowered spring will fight the opener on every close cycle.
Check the balance at three points: one-quarter open, halfway, and three-quarters open. If the door falls at all three positions, the springs are past their useful life. If it holds at one position and falls at another, the door is out of balance or one spring in a pair has failed. A matched pair usually goes together, so a single failed spring is a signal to look at the second one closely.
What the results mean
- Door drops anywhere: springs are weak. Expect the opener to strain and eventually the spring to snap. Schedule a spring replacement.
- Door rises: springs are over-tensioned. That’s a torsion-bar adjustment, which is a technician’s job, not something to try at home.
- Door holds: springs are working correctly. Keep lubricating and re-check in six months.
- Door binds or jumps as it moves: usually a roller or track alignment issue rather than spring. Check the sequence above.
Springs on a garage door of this type are under enough tension to cause serious injury if released incorrectly. The balance test above is safe because you’re only lifting and letting go. Any adjustment to tension, any replacement of a spring, and any work on the cables requires a trained technician. If a spring has snapped on your Antioch door, don’t run the opener. The door is dead weight until it’s repaired. We answer the phone at (866) 944-5178 with We answer 24/7. Fast dispatch from 7am to 7pm, Sunday through Friday. Estimates are free.
The Bottom Seal and the Delta-Adjacent Climate
An Antioch bottom seal takes more abuse than most homeowners realize. In the dry months, fine dust and grit work their way under the door, and the seal’s rubber edge acts as a scraper collecting that grit. In the wet months, rain driven against the door finds any gap. If the seal is torn or flattened, water pools under the door, wicks into the bottom panel, and starts the rust cycle that eventually eats the panel edge. Pest intrusion is real too. A gap under a garage door is an open invitation to rodents looking for a warm place during the cooler nights.
Inspection is straightforward: with the door closed, look at the seal-to-floor line from inside and from outside. Daylight showing through means the seal has lost contact. Then run your fingers along the seal edge and feel for tears, flat spots, and separation from its retainer. Check the corners; that’s where moisture first works in. If you see rust on the bottom panel, the water has been getting in for a while.
What to check and when
- Look for daylight under the seal from inside the garage, door closed.
- Feel for tears and flattened sections along the whole width.
- Sweep or blow out grit from the floor under the door after dry, windy weeks.
- Apply a silicone spray to the seal-to-floor contact surface to prevent sticking.
- Replace a torn or compressed seal. It’s a low-cost part and it’s a homeowner-safe swap on most doors, though we can do it quickly if you’d rather not.
If the bottom panel has rusted through or the seal retainer is damaged, the panel itself may need attention, which is beyond a straightforward seal swap. That’s the point to bring a technician in.
Rollers, Hinges, and the Hardware That Wears
Rollers are the second most common wear item after springs, and in Antioch’s dusty months they take a beating. The grit gets into a worn roller bearing and the roller then drags instead of rolling, which transmits vibration into the whole door and shortens the life of the hinges and the opener gear. Nylon rollers generally run quieter than steel and are common on modern doors, but they do wear. Steel rollers run longer but need periodic lubrication. Either way, the inspection is the same: with the door down, look at each roller where it sits in the hinge. A flat spot, a cracked wheel, or a stem that’s pulled loose from the hinge is a replacement.
Hinges wear at the pivot point. A worn hinge lets the roller ride wrong in the track, and the resulting misalignment puts stress on the panel and the opener. The fix is cheap and fast. A bent hinge is a different matter and should be replaced by a technician along with the panel and track check.
Safe DIY steps
- Replace a nylon or steel roller that is cracked, flat-spotted, or has a loose stem. Pop the hinge pin, swap the roller, refit the pin.
- Replace a hinge leaf that flexes when you push it or won’t hold a bolt tight.
- Don’t replace the hinge that holds the bottom bracket, the one attached to the cable anchor. That’s a technician job.
- Tighten any hinge bolt that has backed out, but check that the hole isn’t wallowed out first. If it is, that’s a technician reassessment.
A noisy door after roller work usually points to the opener rather than the door. That’s where garage door opener repair comes in. We service LiftMaster and Craftsman systems regularly, and the noise pattern alone tells us a lot before we open the cover.
Opener and Safety Reverse Checks
Two safety behaviors on the door are worth checking monthly. First, the safety reverse. Put a small board (a 2×4 works) flat on the floor under the door and close it. The door should reverse and go back up as soon as it contacts the board. If it doesn’t, that’s a safety issue. Second, the photo-eye sensors at the bottom of the tracks. Stand in the door’s path and break the beam; the door should stop and reverse. If either test fails, adjust the sensors or call a technician before using the door.
Beyond safety, check the opener’s behavior. A grinding noise during lift, a door that stops short of the fully open position, or a motor that runs but the door doesn’t move all point to the opener or its drive system. Chain-drive, belt-drive, and screw-drive openers feel different under normal use, and knowing which one you have helps. Belt drive runs quietest, belt or chain is what most homes have, and a screw drive runs with a distinct whine. Our technicians have up to 11 years of experience, and we carry the knowledge to diagnose electronics and mechanical components on the same visit rather than handing the opener off to a separate contractor.
Any adjustment to the opener’s limit switches or force settings is a technician call. Those adjustments affect how hard the motor pushes and can defeat the safety reverse if set wrong.
Printable Frequency Table
This is the schedule to keep. It’s arranged by what to check and how often, with an honest note on who should check it. The council of thumb: if a tool might be needed and the part is under tension, it’s a technician job.
- Monthly: safety reverse test, photo-eye test, visual check of the bottom seal for contact and debris, listen for new noises. DIY safe.
- Every six months: lubricate springs, hinges, and pivot points with the correct products. Wipe down the tracks dry. Inspect rollers and hinges for wear. DIY safe.
- Every twelve months: balance test, full spring and cable visual inspection, panel edge and seam inspection for rust, opener and drive check, bottom-seal condition assessment. Spring and cable findings go to a technician.
- Every three years: full professional inspection of the whole system, including the spring lifespan read and opener diagnostics. Technician job.
Neighborhood profiles shift the schedule a little. In the southern stretches of Antioch closer to the Delta wind corridor, expect more dust and check the bottom seal monthly, and lube the springs more often. In areas with more trees, watch for debris on the tracks and bird activity around the opener. Anywhere in Antioch, if the door is over ten years old and has never had a professional check, a professional assessment is money well spent.
The table is also the honest dividing line. If a check falls on the “DIY safe” column, you can handle it. If it falls on the technician side, don’t push it. Springs, cables, opener adjustments, and panel replacement are the four categories where a homeowner should stop.
Common Mistakes to Avoid
- Lubricating springs with WD-40. It dissolves the protective film and leaves the spring dry and contaminated, which shortens coil life. Use a spring-specific or lithium grease on springs only.
- Lubricating the tracks. The track should be clean and dry. Any lubricant there collects grit and causes the roller to drag and the door to bind.
- Solving a noisy door by turning up the opener force. The opener is compensating for a door that’s out of balance or a roller that’s worn. Fix the door, then let the opener work at its normal setting.
- Ignoring a bottom seal showing daylight. That’s a moisture and pest entry point. In Antioch’s dry dust and winter rain it will erode the bottom panel faster than most homeowners expect.
- Replacing one spring in a matched pair. A pair is matched for a reason. Replacing one leaves the door unbalanced and the older spring close to failure. Do both.
- Running the door after a spring snap. The door is dead weight and the opener will strain until it destroys the gear or the door drops. Stop, call a technician.
- Filing a door as “fine” because the opener still lifts it. A tired spring and a struggling opener can look identical from the driver’s seat. The balance test tells the difference.
See the difference
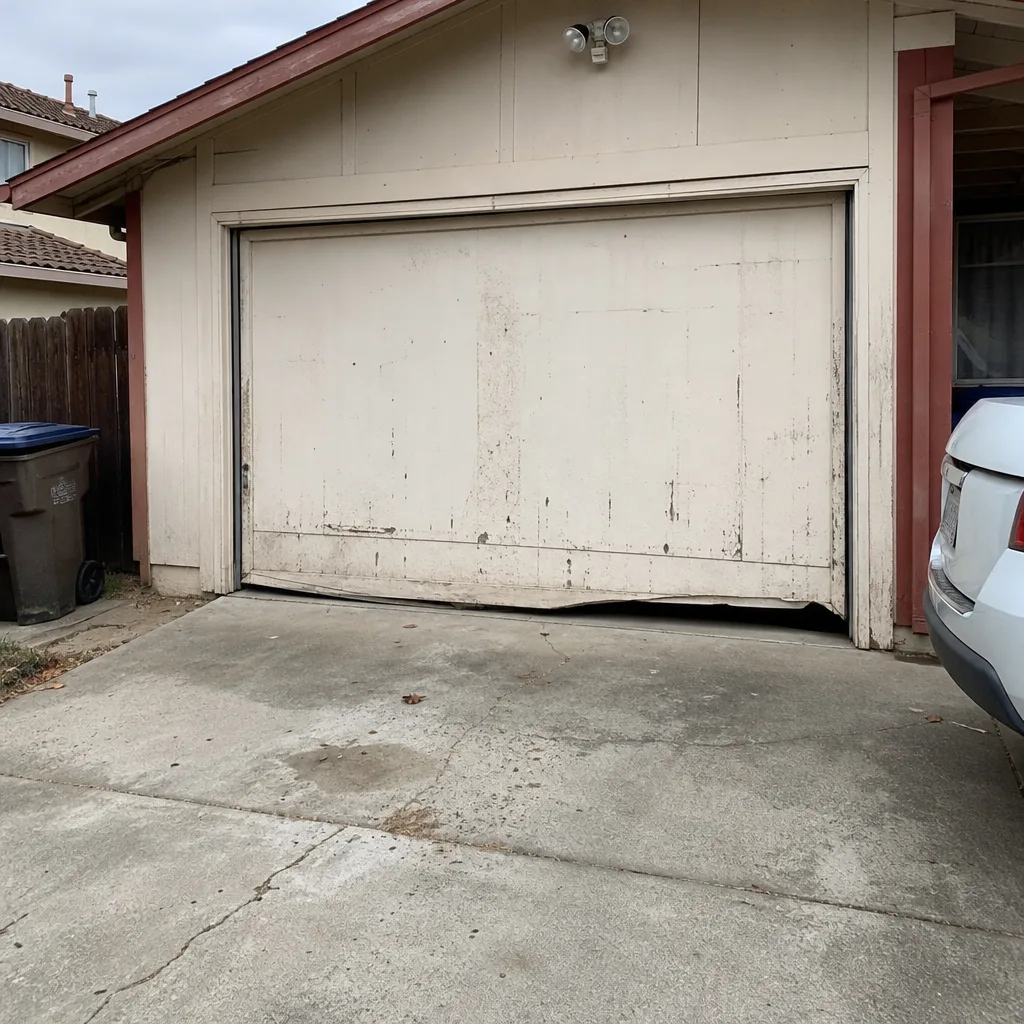 Before
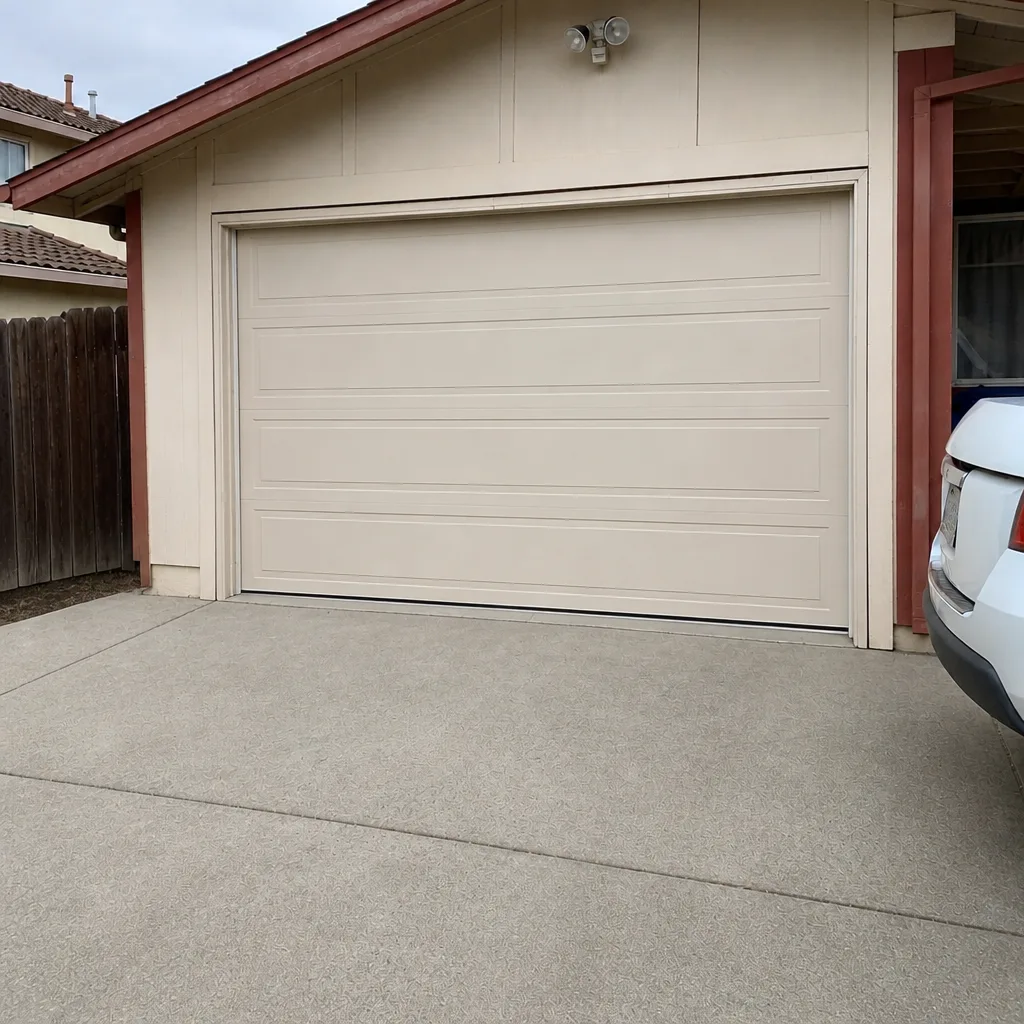 After
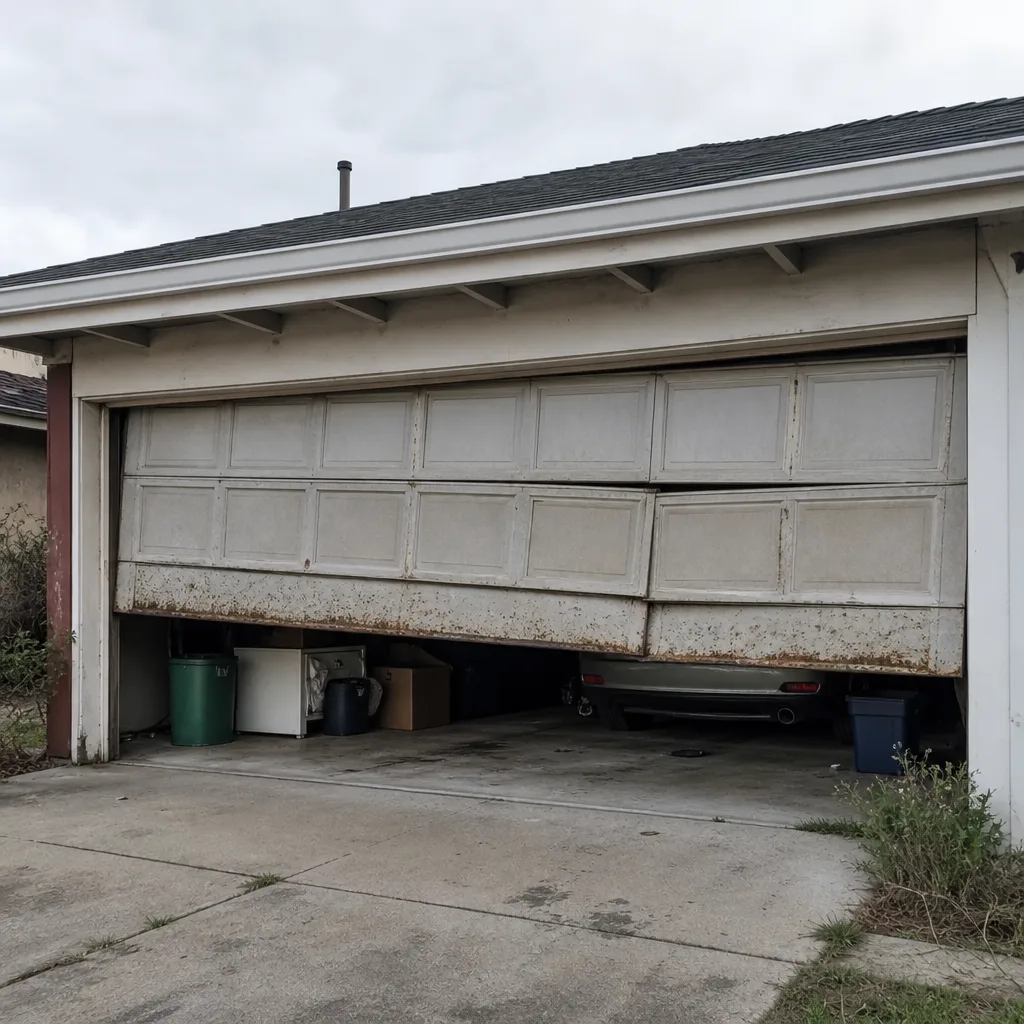 Before
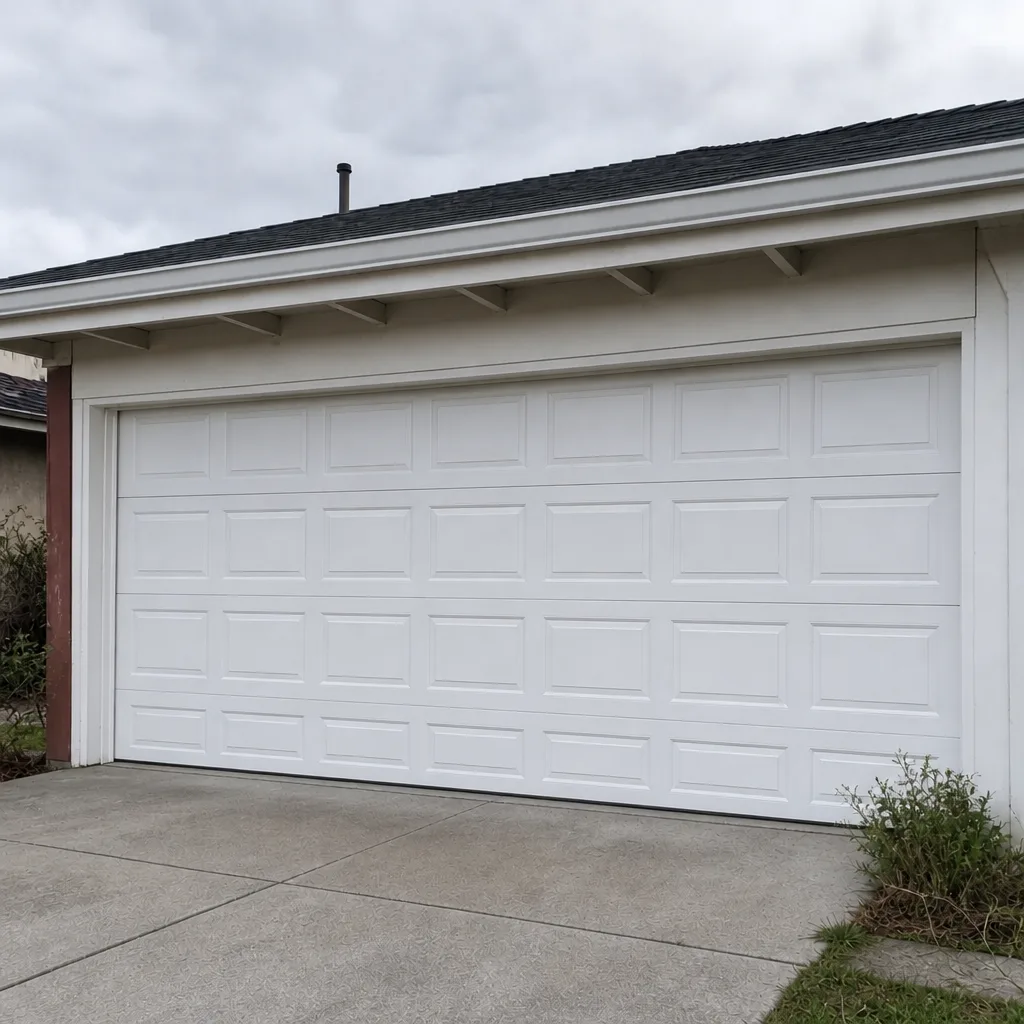 After
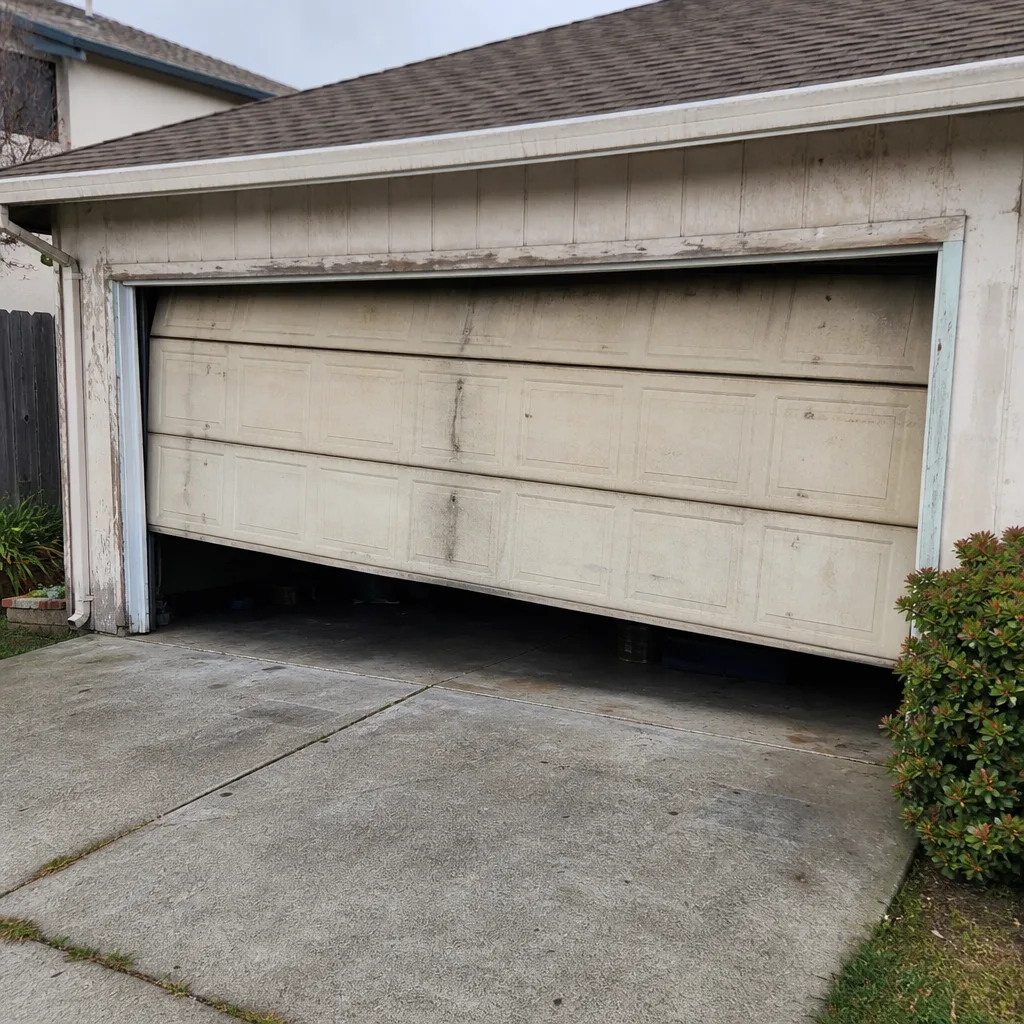 Before
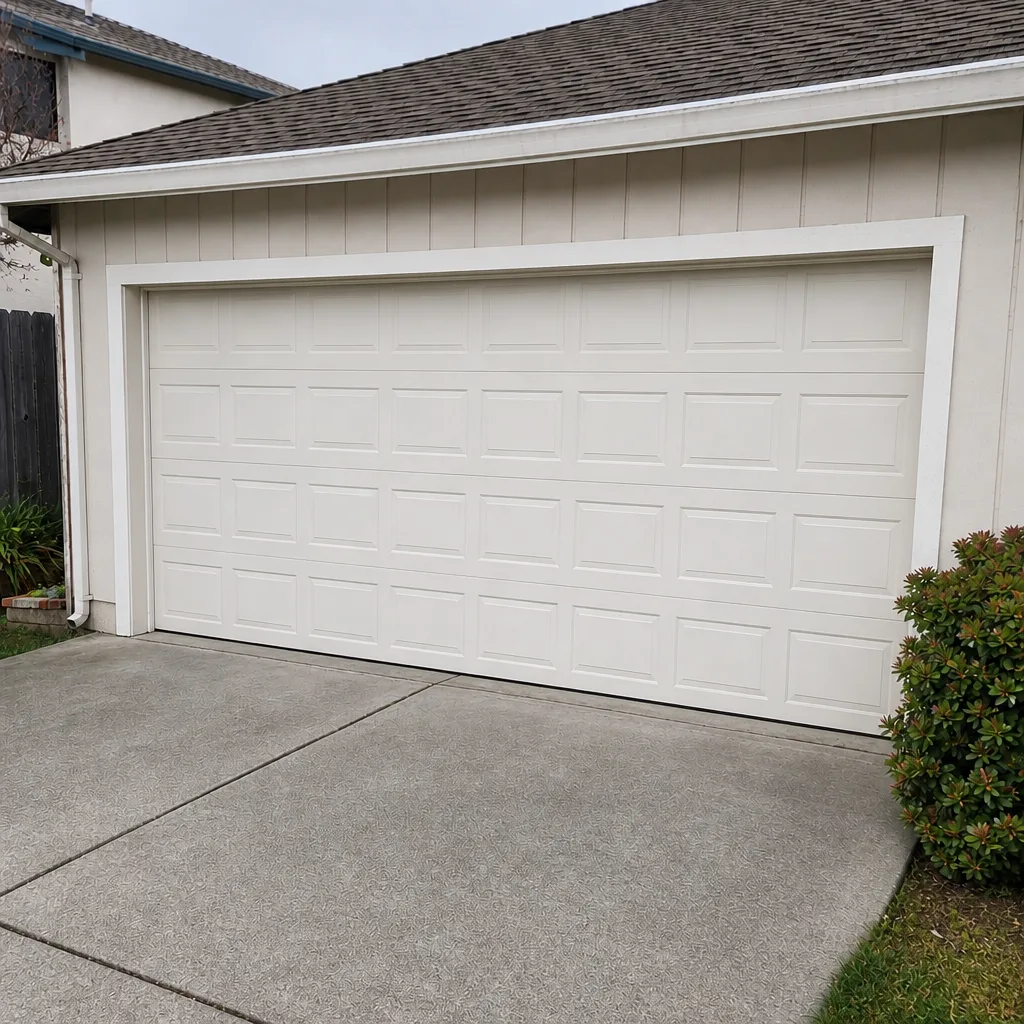 After
When to Call a Professional
Call a professional for four categories: any spring or cable issue, any opener limit-switch or force adjustment, a bottom panel that’s rusted through, and a panel replacement or full installation. Those four are the ones where a DIY attempt puts you or your door at risk. The rest of the checklist you can handle yourself. If the balance test shows a door that drops at all three positions, a spring is in its last weeks and should be replaced before it fails, because a mid-cycle failure is more disruptive than a scheduled one. If the door has come off the track, or the opener runs but doesn’t lift, that’s a diagnostic call, and working on it yourself risks a bigger repair. Sawyer Garage Door Repair offers free estimates in Antioch. Call (866) 944-5178. We answer 24/7. Fast dispatch from 7am to 7pm, Sunday through Friday.
Frequently Asked Questions
Spring lubrication, roller and hinge inspection, balance testing, bottom seal checks, and the safety reverse test. Monthly safety checks, six-month lubrication, and annual spring and cable inspections cover most of what fails on Antioch doors. Springs, cables, and opener adjustments are the four technician categories; everything else a homeowner can handle with the right products.
WD-40 is a solvent and light oil, not a lasting lubricant. It dissolves the heavier grease on springs, leaves the coils dry, and attracts grit. On tracks, it turns into a sticky surface that grabs dust and makes the roller drag. Use a spring-specific or lithium-based spray on springs, and silicone or lithium on hinges. Leave the tracks dry. Call (866) 944-5178 for a technician assessment of a door that’s already been lubricated wrong – estimates are free.
The balance test is the fastest way. Disconnect the opener, raise the door halfway, and let go. If the door drops, the springs are weak. A door that holds its position is in good shape. If it rises on its own, it’s over-tensioned. Any visible gap or rust on the coils is a separate warning. If you’re in doubt, stop and call a technician, because spring replacement is not a homeowner task.
Every three years for a full system check, and sooner if the door is over ten years old and has never been assessed. A professional check reads spring life, opener performance, and panel condition together. Between professional visits, the homeowner checklist handles the rest. Our technicians have up to 11 years of experience working across brands like Wayne Dalton and LiftMaster, so the assessment is usually fast and straightforward.
We don’t quote a maintenance checklist as a separate service; we price per job from a written estimate that’s free and agreed before any work starts. Spring, roller, and seal repairs are priced by the job. Call (866) 944-5178 for an exact quote – estimates are free and set before we turn a bolt.
On most doors, yes. A bottom seal is a low-cost part and swapping it doesn’t involve the spring or cable. Pop the old seal out of its retainer and slide in the new one. If the retainer is damaged or the panel has rusted through, that’s a technician visit. Call (866) 944-5178 and we’ll look at the bottom panel with you.
The Bottom Line
The maintenance checklist that matters in Antioch is the one arranged by what actually fails first, and the first failure cause is wrong lubrication rather than skipped lubrication. Use a spring-specific product on springs, leave the tracks dry, and re-lubricate on the six-month cycle. Run the balance test monthly alongside the safety reverse check. Inspect rollers and hinges for wear every six months. Check the bottom seal monthly in the dusty stretches near the Delta. Springs, cables, opener adjustments, and panel damage all belong to a technician, and every other check on this list you can handle yourself. The result is a door that moves quietly, holds its position, and doesn’t hand you a surprise bill.
If any part of the checklist returns a result you don’t like, we want to hear about it. Sawyer Garage Door Repair is a garage door specialist, not a general handyman service. That means every job on the schedule is a door or an opener, and every technician’s experience is concentrated on this one trade. We work on LiftMaster, Chamberlain, Genie, Clopay, Amarr, Wayne Dalton, Craftsman, and Raynor systems, so your setup isn’t new to us. Whether it’s the door, the opener, or a new installation, one call covers it. We serve homeowners throughout Antioch and the surrounding area.
Call (866) 944-5178 for a free estimate. We answer 24/7. Fast dispatch from 7am to 7pm, Sunday through Friday. The price is quoted and agreed before any work starts, so the number in the written estimate is the number on the invoice.
Written by the team at Sawyer Garage Door Repair.